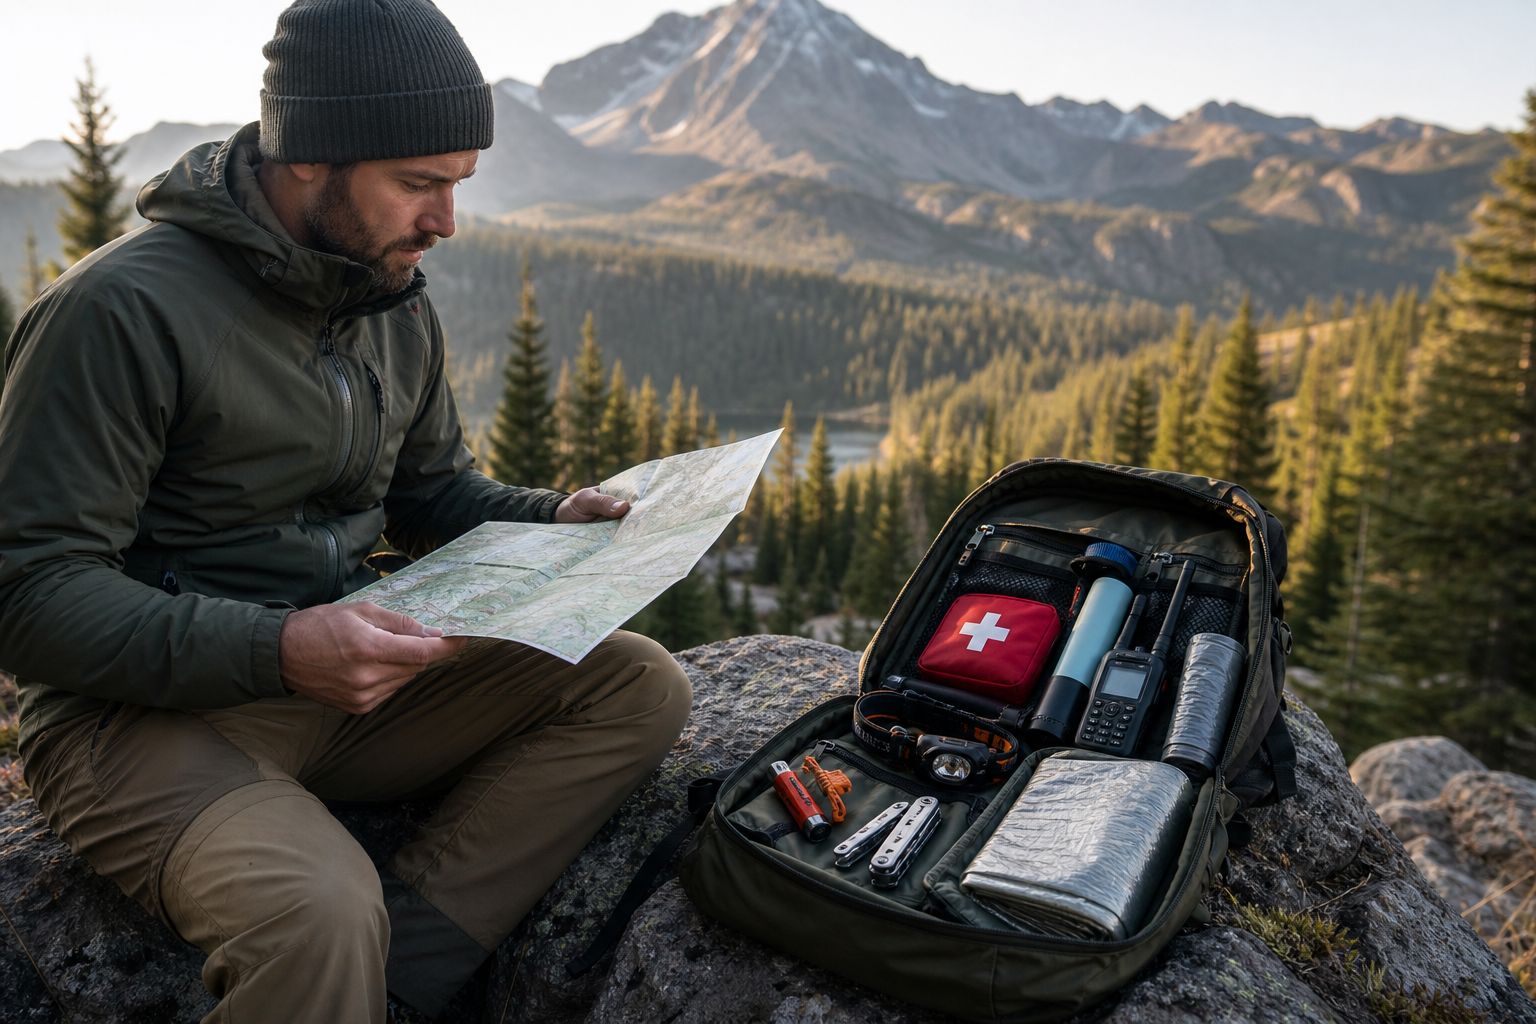
When venturing into remote areas, ensuring access to clean drinking water is a top priority. Carrying large amounts of bottled water can be impractical and environmentally unfriendly, making a portable water filter an essential piece of gear for outdoor enthusiasts. Building your own DIY portable water filter not only saves money but also gives you control over the materials and design, ensuring reliability during your adventures. This guide walks you through the step-by-step process to create a practical and effective water filter that fits seamlessly into your off-grid lifestyle.
Why Build Your Own Portable Water Filter?
Commercial water filters can be expensive, and their replacement parts might not always be available when you need them most. Building a DIY filter offers several advantages:
- Cost-effectiveness: Use easily sourced materials to create a top-performing filter at a fraction of the cost.
- Customization: Tailor the filter’s size and filtration stages to fit your specific needs and travel style.
- Self-reliance: Gain confidence and skills in water purification—critical for off-grid living and survival situations.
- Portability: Design a lightweight, compact filter that fits in your backpack or vanlife setup.
Understanding Water Filtration Basics
Before we dive into the build, it’s important to understand what makes a water filter effective. Most portable filters combine mechanical and chemical filtration to remove contaminants:
- Mechanical filtration: Removes suspended solids, sediments, and some microorganisms by forcing water through fine physical barriers.
- Chemical filtration: Activated carbon or other media absorb chemicals, odors, and improve taste.
- Biological filtration or disinfection: Advanced filters or additional treatments (like UV light or chemical tablets) target bacteria, viruses, and protozoa.
Our DIY filter will focus on mechanical and chemical filtration, offering reliable protection against common pollutants found in natural freshwater sources like streams, lakes, and rivers.
Materials Needed
Gathering the right materials is crucial. Most of these can be found at outdoor stores, hardware shops, or online:
- Plastic water bottle or food-grade plastic container: Serves as the filter housing.
- Activated carbon (charcoal): Removes chemicals, odors, and improves water taste. You can make your own by crushing charcoal from a campfire, but commercial activated carbon is preferable.
- Fine sand: Helps trap sediments and small particles.
- Coarse sand or fine gravel: Provides initial filtration of larger debris.
- Cheesecloth or coffee filter: Prevents filter media from escaping the container.
- Cotton or microfiber cloth: Acts as a pre-filter to catch large particles.
- Clean plastic tubing or straw: For drawing out filtered water (optional).
- Rubber bands or zip ties: To secure filter layers and cloths.
- Knife or scissors: For cutting materials.
Step-by-Step Build Instructions
1. Prepare the Filter Housing
Start with a clean plastic bottle or container. If you’re using a water bottle, cut off the bottom to create an open end for filling the filter media. The bottle’s neck will serve as the outlet where filtered water will flow out.
2. Create the Outlet Barrier
Place a piece of cheesecloth or coffee filter over the bottle’s neck, securing it tightly with a rubber band or zip tie. This layer prevents the filter media from escaping while allowing water to pass through.
3. Add the Activated Carbon Layer
Pour a 1-2 inch layer of activated carbon into the bottle, on top of the cheesecloth barrier. Activated carbon is essential for removing chemical contaminants and improving water taste.
4. Add the Fine Sand Layer
Next, add a 2-3 inch layer of fine sand. This layer traps smaller particles and sediments that pass through the gravel.
5. Add the Coarse Sand or Gravel Layer
On top of the fine sand, add a 2-3 inch layer of coarse sand or fine gravel. This layer filters out larger debris such as leaves, twigs, and sediment chunks.
6. Add the Pre-Filter Cloth
Cover the open bottom of the bottle with a clean cotton or microfiber cloth secured by a rubber band. This acts as a pre-filter to catch larger particles before they reach the filter media.
7. Assemble and Test
Flip the bottle so the neck is pointing downward over a clean container. Slowly pour raw water into the open end (now at the bottom) and allow it to filter through the layers. The filtered water will drip out from the bottle neck. Collect the output in a clean vessel.
Important Tips for Effective Use
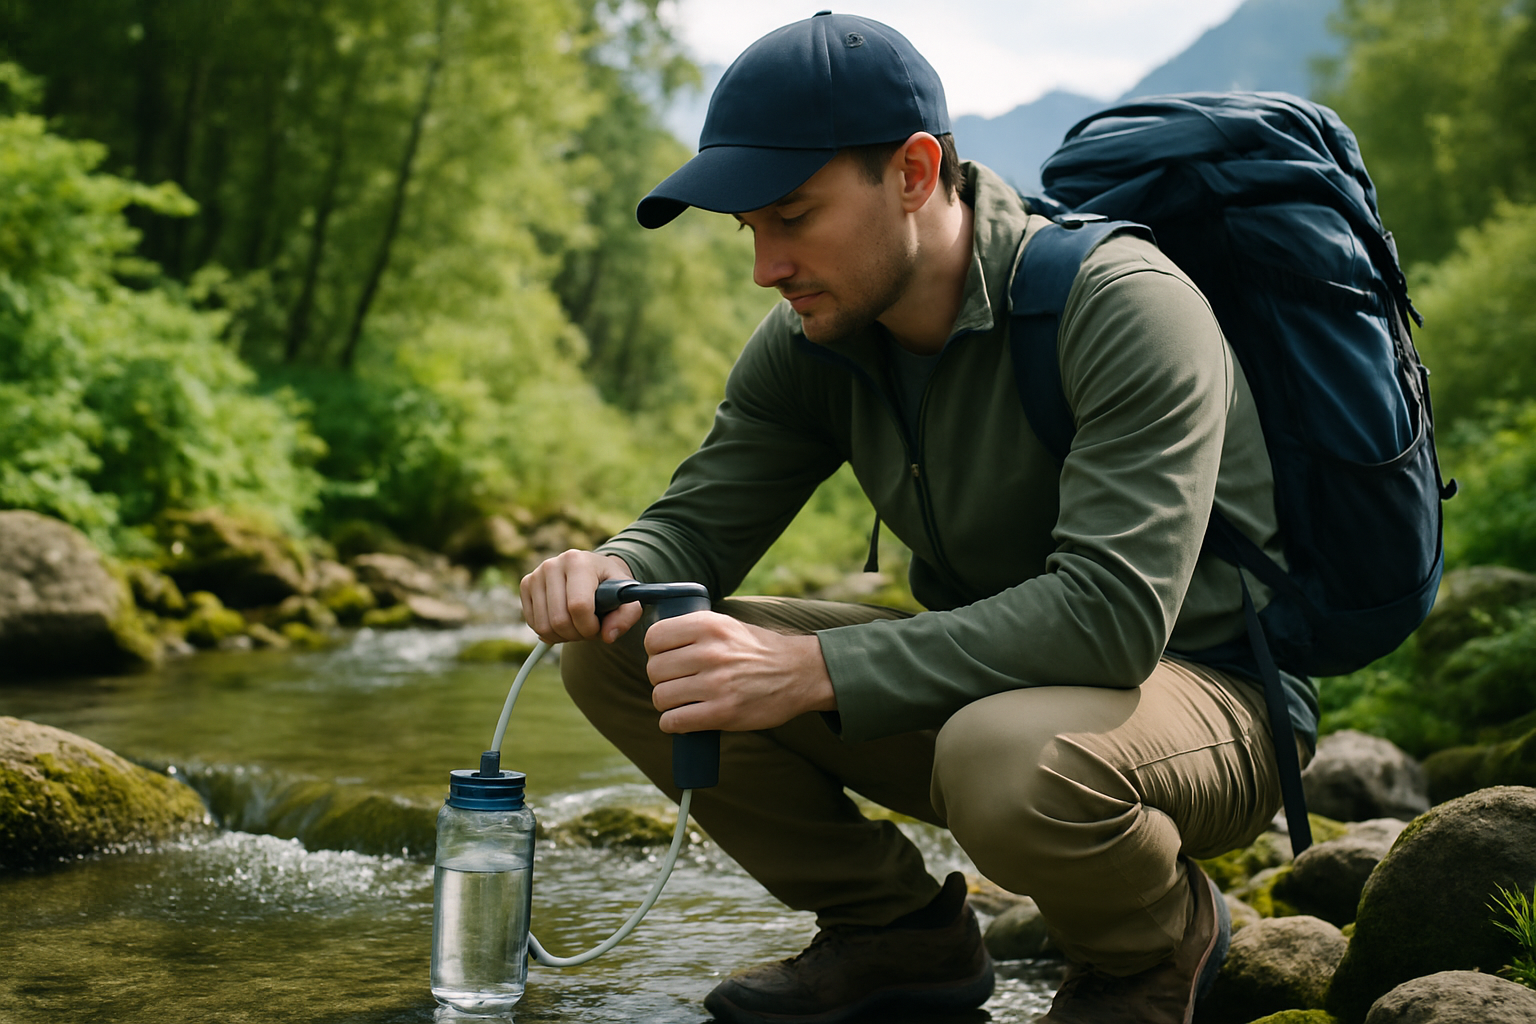
- Pre-filter your water: Before pouring water into your DIY filter, remove large debris by straining it through a cloth or letting it settle for a few minutes to reduce turbidity.
- Replace filter media regularly: Activated carbon loses effectiveness over time, and sand layers can clog. Replace or clean media to maintain flow rate and filtration quality.
- Boil or chemically treat: For added safety, especially in areas with high risk of viruses or protozoa, boil filtered water or use purification tablets after filtering.
- Keep your filter clean and dry: After each use, rinse the filter media with clean water and allow it to dry thoroughly to prevent bacterial growth.
- Test and monitor: Observe the water’s clarity and smell. If the filter output looks or smells suspicious, do not drink without further treatment.
Enhancing Your DIY Filter for Advanced Protection
For those interested in stepping up their filtration game, consider adding these elements:
UV Light Sanitizer
Portable UV light devices can be used after filtration to neutralize viruses and bacteria that mechanical and chemical filters might miss.
Silver-Impregnated Ceramic Filters
Ceramic filters coated with silver ions provide antimicrobial properties and excellent mechanical filtration. They can be incorporated into your DIY design for improved safety.
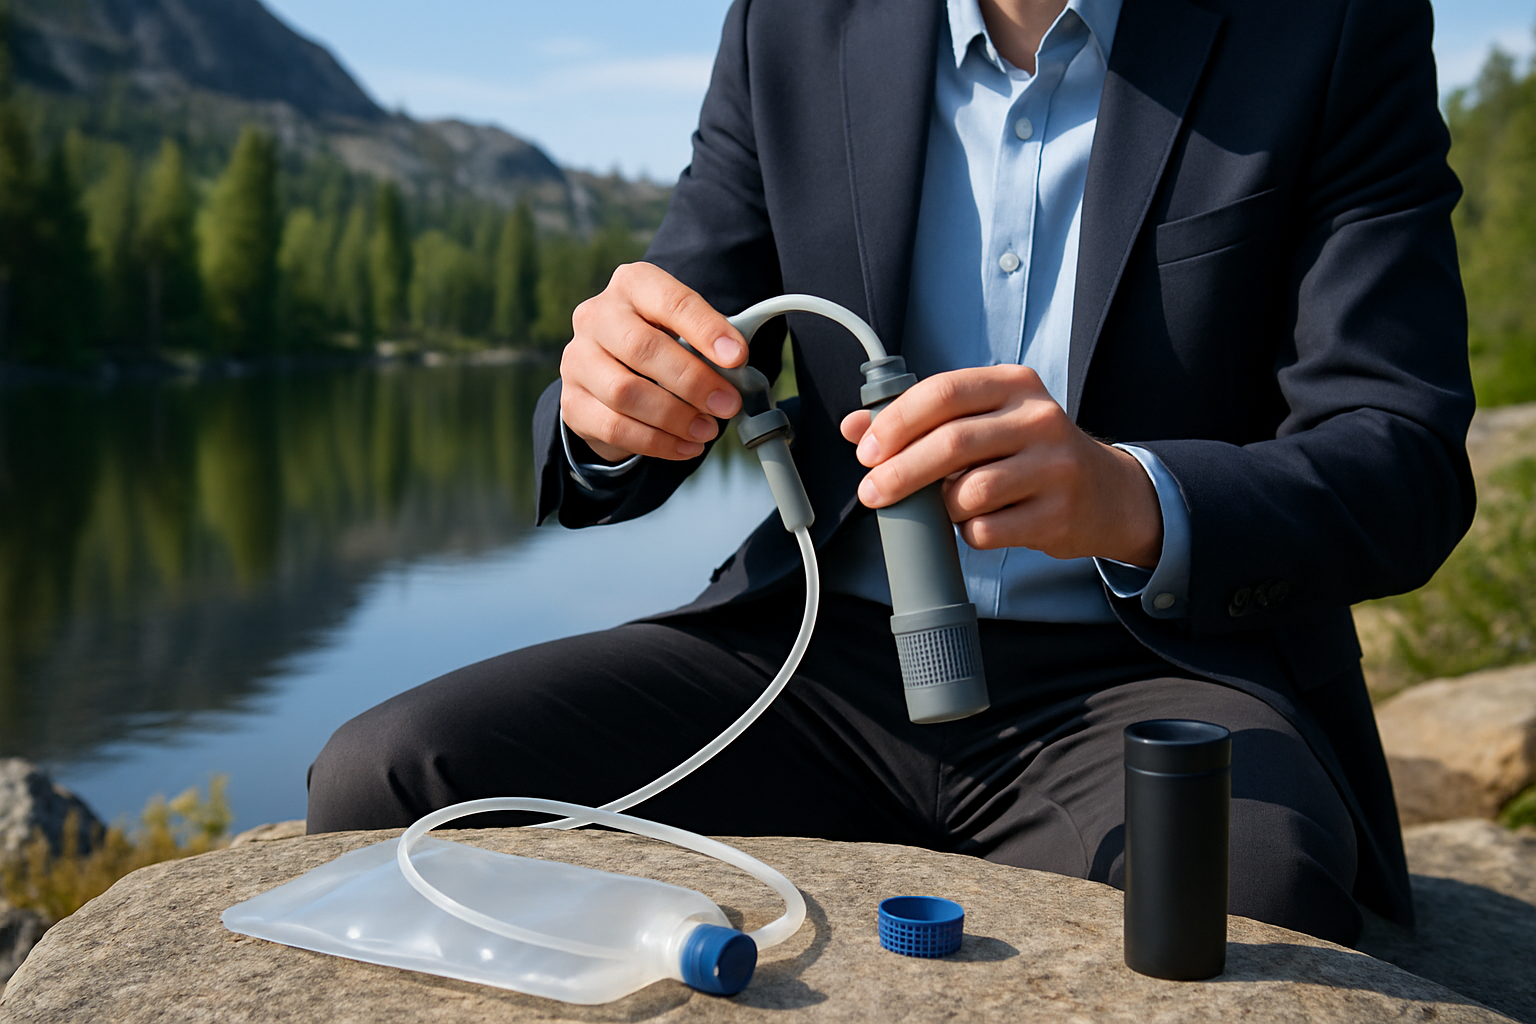
Gravity-Fed Filter Systems
For longer trips or group use, building a gravity-fed system using larger containers and your DIY filter media can provide continuous access to clean water without manual pumping.
Final Thoughts
Building your own portable water filter is a rewarding project that enhances your preparedness for remote adventures. While no DIY filter can guarantee 100% removal of all pathogens, combining mechanical filtration with chemical treatment and safe water handling practices offers robust protection. This skill aligns perfectly with the ethos of off-grid living and self-reliance embraced by outdoor adventurers, overlanders, and vanlifers alike. With a little practice and care, your DIY filter will become an indispensable tool on your journey to explore the wilderness safely and sustainably.
Key Takeaways
- DIY portable water filters combine mechanical and chemical filtration to remove sediments, chemicals, and improve water safety.
- Using readily available materials like plastic bottles, activated carbon, and sand, you can build an effective, lightweight filter.
- Regular maintenance and additional purification methods like boiling or UV treatment enhance water safety.
- Building your own filter fosters self-reliance, practical skills, and confidence for off-grid and remote living.
- Always test and monitor filtered water and practice safe water handling to minimize health risks.