Short trips — day hikes, weekend car-camps, and quick van getaways — are the perfect place to use a micro solar kit: compact, rugged, and sized for just the essentials. In this guide you’ll learn an easy method for sizing a kit, the core components to prioritize, three practical builds (ultralight, weekend car-camp, and fridge-capable), a basic wiring diagram and setup tips, a safety checklist, and real-world troubleshooting to keep your small off-grid system reliable on the trail.
Why choose a micro solar kit?
Micro solar kits are designed to balance portability with enough capacity to power phones, lights, small fans, cameras, and—if sized correctly—12V mini fridges. The advantages are straightforward: lightweight panels and batteries that fit in a car trunk or under a van seat, low setup complexity, and the ability to recharge on-site without noisy generators.
Simple power-sizing for short trips
Keep the math practical: list devices you’ll run and estimate watt-hours (Wh). Multiply device wattage by hours used per day to get Wh/day.
- Phone charge: ~5–10 Wh (one full charge)
- Headlamp / LED camp light: 3–5 W × 4 hours = 12–20 Wh
- Camera battery (mirrorless): 10–30 Wh/day
- 12V mini fridge (compressor): typical running 40–60 W; average daily use = 40 W × 24 h × duty cycle (~33%) ≈ 320 Wh/day (varies widely)
Rules of thumb:
- Phones, lights, camera: plan 50–200 Wh/day for ultralight or weekend users.
- Mini-fridge capable: plan 800–1,500 Wh/day depending on fridge size and ambient temps.
- Battery sizing: usable watt-hours = battery nominal Wh × usable depth-of-discharge (DoD). For lead-acid, assume 50% usable; for LiFePO4, ~80–90% usable.
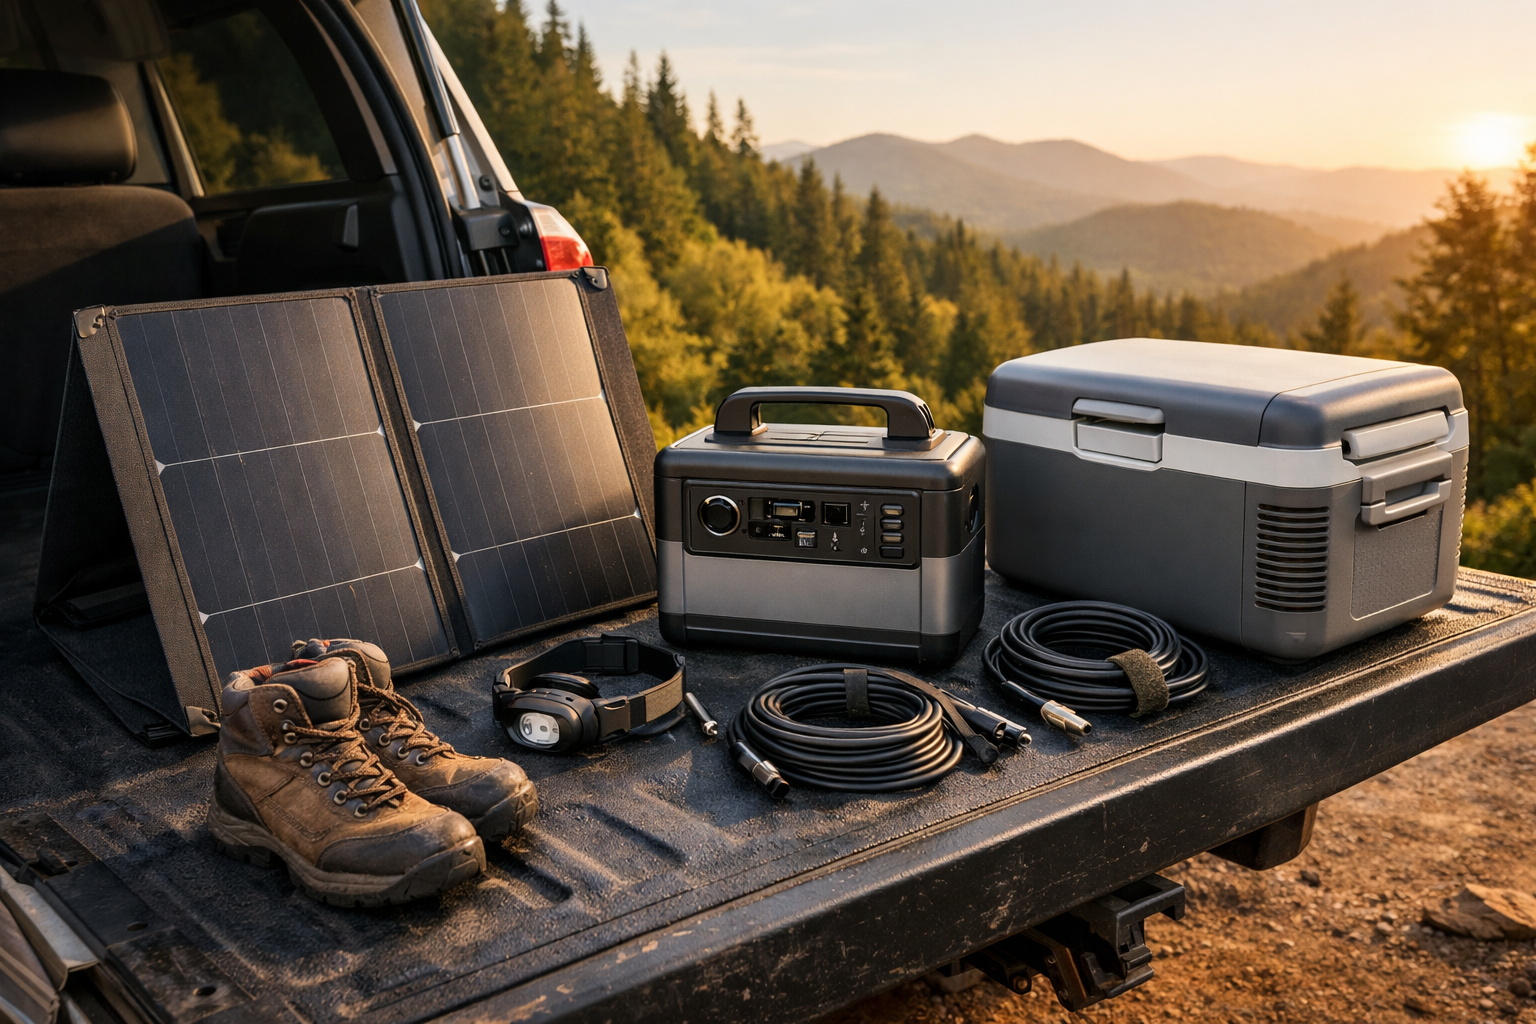
Core components
Solar panels
For micro kits choose foldable or rigid monocrystalline panels between 10–200 W depending on needs. Flexibility and weight matter for ultralight setups; efficiency matters in low-light or limited space.
Charge controller
Two types: PWM (cheaper) and MPPT (more efficient, especially with higher panel voltages). For small kits, a compact MPPT (e.g., 10–30 A rated) is worth it if you plan to use 100 W+ panels or want better performance in varied conditions.
Battery
Options include portable power stations, LiFePO4 or sealed lead-acid (SLA) batteries. For short trips, portable lithium power stations are easiest (integrated inverter, outputs, and simpler wiring), while standalone 12V LiFePO4 or AGM batteries pair well with separate controllers. Prioritize energy density (Wh/kg) and safe charging characteristics.
Cables, fuses, connectors
Use correct gauge cables for current and short runs, MC4 connectors for solar panels, and fuses or breakers at the battery positive terminal. A small fuse close to the battery protects wiring from shorts.
Three sample builds
1) Ultralight “phone & lights” kit (packable, trail-friendly)
- Goal: keep phones, headlamps, and a small camera charged for 2–3 days.
- Parts: 20–30 W foldable SunPower panel, USB-output power bank (20,000–50,000 mAh / 72–185 Wh) or small 150–300 Wh portable power station, integrated USB regulator (no separate controller required if using USB panel).
- Estimate: 50–150 Wh/day; panel recharges power bank in 4–8 hours of good sun.
- Notes: ideal for backpackers who want minimal weight and simple plug-and-play charging.
2) Weekend car-camp kit (phones, lights, small gadgets, occasional hot plate)
- Goal: 1–2 full days of moderate device use and occasional 12 V loads.
- Parts: 100 W foldable panel, 20–30 A MPPT charge controller, 12 V 50–100 Ah deep-cycle battery (or 300–600 Wh portable power station), fused DC output and a small inverter if needed.
- Estimate: 200–600 Wh/day. A 100 W panel can produce ~300–600 Wh/day in good sun depending on location; match battery to expected cloudy days.
- Notes: fits in trunk, quick setup on a picnic table or hood rack.
3) Fridge-capable kit (mini fridge running overnight)
- Goal: run a 40–60 W 12 V compressor fridge reliably for 24 hours.
- Parts: 200–400 W of solar (two 100–200 W panels), MPPT controller (30–60 A), 12 V 100 Ah LiFePO4 battery (≈1,280 Wh usable at 85% DoD), robust fusing, proper cable gauges, and optionally a DC-DC charger if charging from vehicle alternator.
- Estimate: fridge ~320–500 Wh/day (depends on ambient). Allow margin for cloudy days and fridge start-up surge; aim for 1–2 days of battery storage.
- Notes: fridge efficiency improves with shade and warm-start protection; consider extra capacity if you’ll be boondocking multiple days without sun.
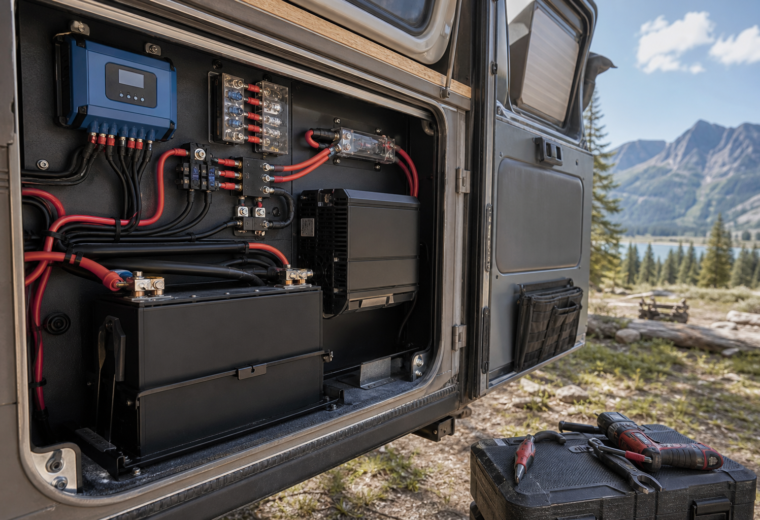
Setup and basic wiring
Keep wiring short, secure, and fused. Below is a SIMPLE wiring diagram to use as a reference.
[Solar Panel(s)] —MC4—> [Charge Controller (Solar input)]
[Charge Controller (Battery +)] —FUSE—> [+ Battery (12V)]
[Charge Controller (Battery -)] —————–> [- Battery (12V)]
[+ Battery] —FUSE—> [Load / Inverter / DC outlets] —> [- Battery]
- Mount panels flat or angled toward the sun; avoid shading even a small cell string can reduce output.
- Connect panels to the charge controller first, then connect the controller to the battery. Many controllers require battery connection to power their electronics.
- Install a fuse or breaker on the positive battery lead as close to the battery terminal as possible. Size the fuse slightly above expected max current.
- Use proper cable gauge for the current and length (shorter runs use smaller gauge; long runs require thicker cables).
- Terminate connections cleanly and use heat shrink or grease on exposed terminals in wet environments.
Safety checklist
- Fuse at battery: always fuse within 6″ of the battery positive terminal.
- Ventilation: store batteries in a ventilated area; lead-acid batteries can emit gas when charging.
- Secure mounts: panels and battery packs must be secured to prevent tipping, rolling, or crushing during transit.
- Correct polarity: double-check + and – before connecting; reverse polarity can damage controllers and batteries.
- Temperature limits: don’t charge most batteries above recommended temperatures; Li-ion batteries prefer moderate temps.
- Weatherproofing: protect electronics from rain and avoid running exposed connections in puddles.
Troubleshooting: common real-world problems and fixes
- No or low panel output: check orientation, remove shade, clean panel surface, and test voltage at panel terminals in sun. If low, inspect for broken cells or connectors.
- Controller not charging: ensure battery is connected and battery voltage is within controller operating range; inspect wiring and fuses.
- Battery not holding charge: test battery resting voltage and use a battery monitor. Repeated deep discharge shortens life—consider a higher capacity or different battery chemistry.
- Fridge cycles too often or won’t start: check battery state-of-charge and voltage sag during compressor start. Use a battery with sufficient CCA and consider soft-start or a larger battery/inverter capacity.
- Inverter tripping: check for starting surge > inverter rating. Use a pure sine inverter with adequate surge rating or run fridge from DC if possible.
Recommended micro solar gear (three short picks)
- Anker 521 Portable Power Station (256Wh) — compact, reliable for ultralight users who want plug-and-play USB outputs and simple solar recharging.
- Renogy 100W Foldable Monocrystalline Solar Panel — a practical, rugged panel for weekend car-camp kits; easy to deploy and pairs well with MPPT controllers.
- Victron SmartSolar MPPT 100/30 — a small, robust MPPT controller with Bluetooth monitoring; excellent choice when efficiency and reliability matter (especially for fridge-capable builds).
Key takeaways
- Start with a simple load sheet—estimate Wh/day—and size your battery and panels with a margin for cloudy days.
- For ultralight use a high-capacity power bank and a small foldable solar panel; for fridge-capable setups plan for significantly more panel wattage and battery capacity.
- Use an MPPT controller if you want more efficient charging, especially with 100 W+ panels or variable sun conditions.
- Prioritize proper fusing, correct cable gauge, and secure mounting to keep the system safe and durable on the road.