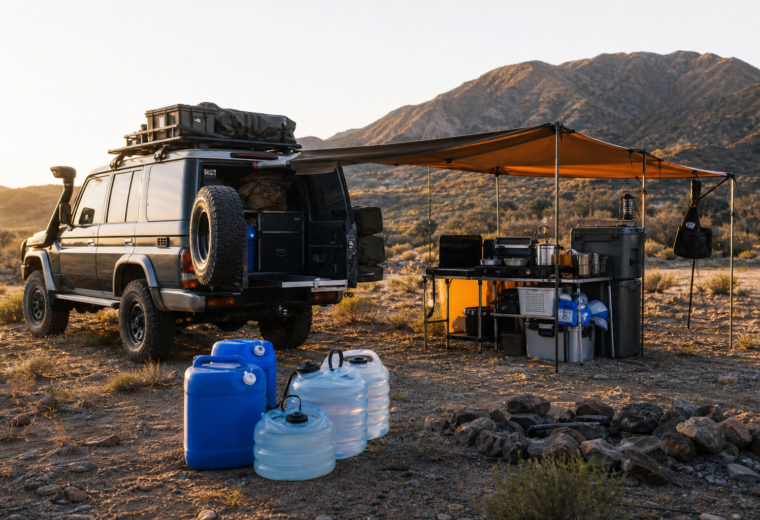
For those living off-grid or exploring self-reliant lifestyles, establishing a dependable water supply is critical. Rainwater harvesting offers a sustainable, environmentally friendly solution that harnesses nature’s resources to provide clean water. Whether you’re setting up a remote cabin, tiny home, or an off-grid homestead, a DIY rainwater harvesting system can significantly reduce reliance on municipal water or hauling water tanks.
This comprehensive guide walks you through the essential components, design considerations, installation steps, and maintenance tips for creating an efficient rainwater harvesting system tailored to off-grid living.
Understanding Rainwater Harvesting
Rainwater harvesting is the process of collecting and storing rainwater from rooftops or other catchment surfaces for later use. This method can supply water for irrigation, household needs, livestock, and even potable water with proper treatment. It reduces dependency on wells or external water sources and helps conserve groundwater.
The basic components of a rainwater harvesting system include:
- Catchment area: Typically a roof surface where rainwater lands.
- Gutters and downspouts: Channels that direct rainwater from the roof to storage.
- First flush diverter: A device that diverts the initial runoff to avoid contaminants entering storage.
- Storage tank or cistern: Containers for holding the collected water.
- Filtration and treatment: Systems to ensure water quality for intended use.
Designing Your DIY Rainwater Harvesting System
1. Assess Your Water Needs
Start by estimating how much water you require daily or seasonally. Consider your household size, irrigation needs, livestock, and any other uses. This will help determine the size of your storage tanks and catchment area needed.
2. Evaluate Your Site and Roof
Your roof is the primary catchment surface. Metal roofs are ideal because they provide cleaner runoff compared to asphalt shingles. Calculate the catchment area by measuring the roof surface in square feet, then use average rainfall data for your region to estimate potential water collection:
Rainwater (gallons) = Roof Area (sq.ft) × Rainfall (inches) × 0.623
This formula gives a rough estimate of how many gallons you can collect per rainfall event.
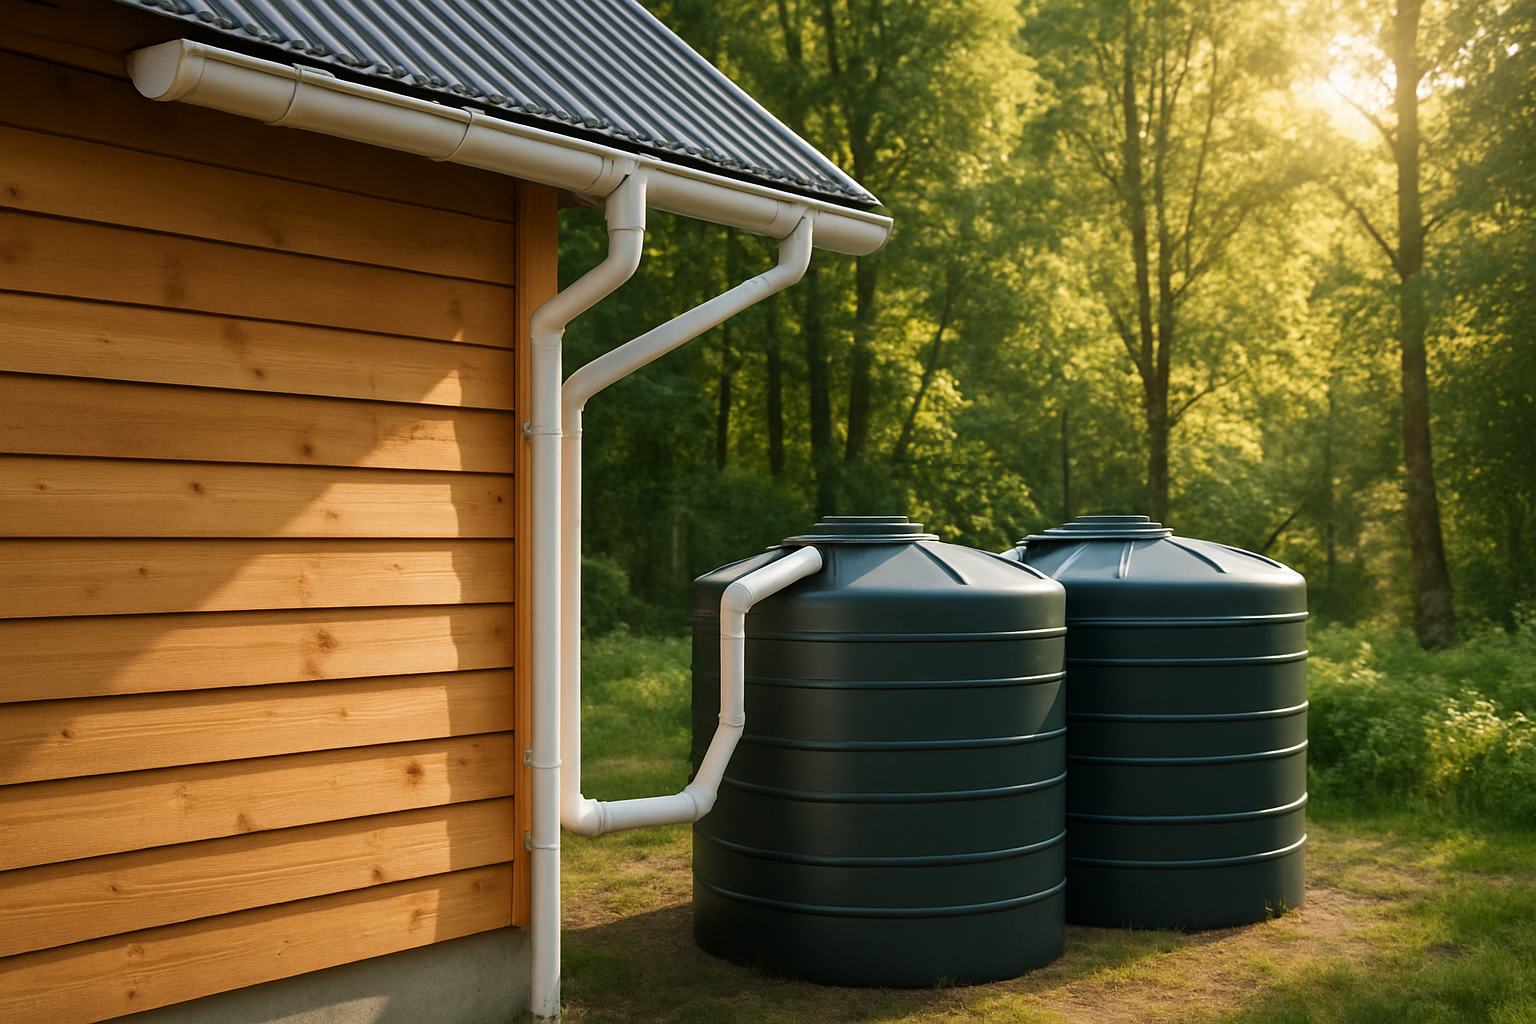
3. Choose Storage Solutions
Storage tanks come in various sizes and materials such as polyethylene, fiberglass, or metal. For off-grid homes, consider:
- Capacity: Larger tanks provide more reserve but take up space.
- Placement: Tanks should be located close to the collection point and on a stable, level foundation.
- Durability: UV-resistant tanks are preferable to prevent algae growth.
4. Plan for Water Quality
Initial rainfall can carry roof debris, dust, and bird droppings. A first flush diverter helps divert this water away from storage. Additional filtration or treatment such as sediment filters, UV purifiers, or chlorination may be necessary depending on your intended use.
Installation: Step-by-Step Guide
Step 1: Prepare the Catchment and Gutters
Inspect and clean your roof and gutters thoroughly. Install gutters if not present, ensuring they slope downward to facilitate water flow. Use gutter guards to minimize leaves and large debris entering the system.
Step 2: Install the First Flush Diverter
Attach a first flush system at the downspout to divert the initial contaminated runoff. This usually consists of a small pipe and valve that traps the first volume of dirty water and then closes, allowing cleaner water to proceed to storage.
Step 3: Set Up the Storage Tank
Place your tank on a level, firm base such as a concrete pad or compacted gravel. Connect the downspout outlet to the tank’s inlet. Ensure the tank has a secure lid to prevent mosquito breeding and debris entry.
Step 4: Add Filtration and Treatment Systems
Install filters at the tank outlet to remove sediment and particulates. For potable water, consider additional treatment options such as UV sterilizers or slow sand filters. Regular testing of water quality is recommended if used for drinking.
Step 5: Set Up Overflow and Drainage
Include an overflow pipe near the top of the tank to direct excess water away safely, preventing flooding or erosion near your foundation. Ensure the overflow leads to a drainage area or rain garden.
Maintenance Tips for Longevity and Water Quality
- Regularly clean gutters and screens: Remove leaves, twigs, and dirt to keep water flowing efficiently.
- Inspect and flush the first flush diverter: Clean or reset the diverter after each major rain event.
- Check the tank for cracks and leaks: Repair any damage promptly to avoid water loss.
- Monitor water quality: Test for bacteria and contaminants, especially if using water for drinking or cooking.
- Maintain filtration systems: Replace or clean filters as recommended by the manufacturer.
- Keep the tank lid secured: Prevent animals and insects from contaminating the water.
Key Takeaways
- DIY rainwater harvesting is a practical solution for off-grid water independence.
- Proper system design depends on assessing water needs, roof catchment size, and local rainfall.
- First flush diverters and filtration are essential for protecting water quality.
- Regular maintenance ensures system efficiency and safe water supply.
- Investing in quality materials and proper installation pays off in long-term reliability.
Related Resources
- EPA Rainwater Harvesting Guide – Comprehensive information on rainwater harvesting principles and best practices from the U.S. Environmental Protection Agency.
- HarvestH2O – An extensive resource for rainwater collection products, design ideas, and installation tips.
- Build It Solar: Rainwater Catchment – DIY-focused plans and tutorials for building rainwater harvesting systems.
- Watershed Management Group – Offers sustainable water management techniques, including rainwater harvesting for arid climates.
- CDC on Rainwater Harvesting and Safety – Guidance on safe rainwater collection and treatment for potable use from the Centers for Disease Control and Prevention.