Hot-weather day trips can feel casual because they are short: a few miles after breakfast, a scouting walk before dinner, a trail run on familiar ground, or a paddle-adjacent route along a riverbank. But heat changes the margin. Sun exposure, wrong turns, blisters, slow terrain, mud, slick rock, and afternoon storms can turn a quick outing into a long day. The goal is not to carry a full expedition load. The goal is a compact kit that supports movement, cooling, foot comfort, navigation, and a safe return if the plan slips.
Start With the Route, Not the Gear
Before packing, look at the route as a set of conditions rather than a line on a map. A three-mile loop through shaded forest is not the same as a three-mile ridge walk over pale rock with no water, no breeze, and a steep descent at the end.
Check the basics first: distance, elevation gain, expected time, trail surface, shade, exposure, road access, and turnaround points. In hot weather, the return leg often matters more than the start. A route that feels easy in the morning can become draining when the sun is higher, the ground is radiating heat, and your water is half gone.
For paddling-adjacent day trips, shoreline scouting, canyon walks, and river access routes, add a few more questions. Will your feet get wet? Is there mud, slick rock, sand, or brush? Are you likely to move slower than the map suggests? Can you safely exit the area if the water rises or a storm rolls in?
Also consider cell coverage, parking access, and whether someone else knows your plan. A simple route note left with a trusted person is not dramatic; it is basic field discipline.
Hydration Planning That Matches the Day
There is no single water number that works for every hiker. Heat, humidity, exertion, body size, pace, altitude, wind, and personal sweat rate all change the math. The practical rule is to carry enough for the route you planned, plus enough for a delay, a wrong turn, or a slower-than-expected return.
Bottles and hydration reservoirs both work. Bottles make it easier to track intake and ration water deliberately. Reservoirs make it easier to sip consistently while moving. Many hot-weather hikers use both: a reservoir for steady drinking and a bottle for mixing electrolytes or monitoring how much remains.
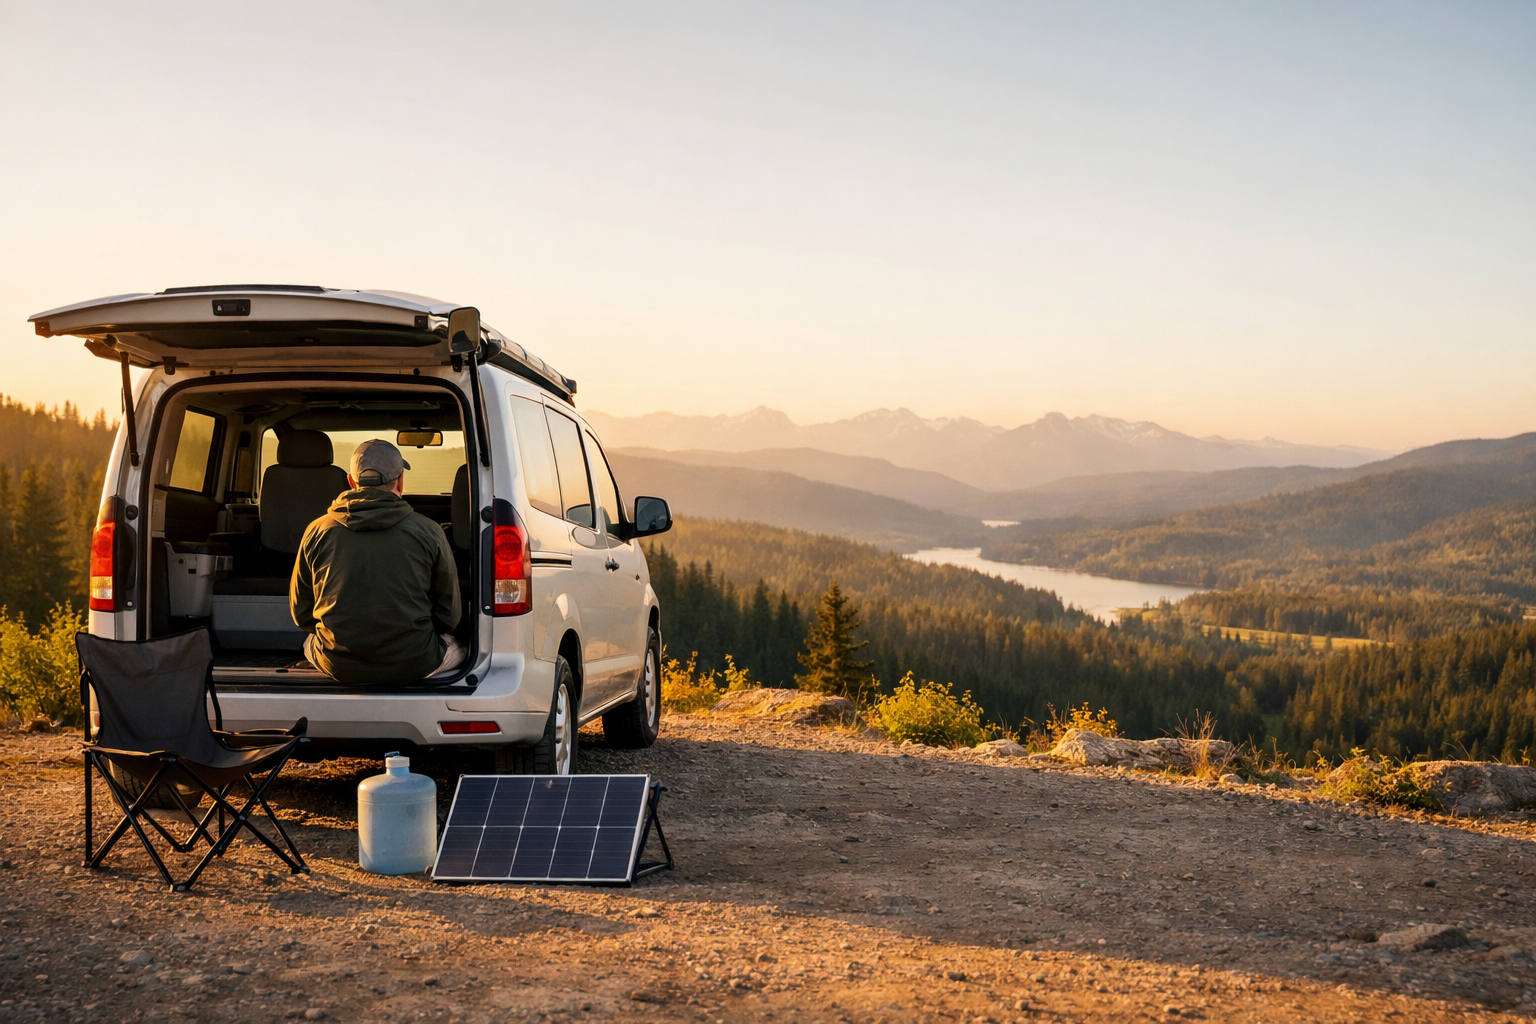
If the trailhead is remote or the drive out is long, keep backup water in the vehicle. It does not replace what you carry on the route, but it helps with recovery and gives you a buffer if someone returns overheated or low on fluids.
If you intend to depend on water along the route, confirm that the source is reliable for the season. Do not assume that a blue line on a map means flowing water in late summer.
Hydration Checklist
- Start hydrated before leaving the trailhead.
- Carry more than the minimum when shade is limited.
- Use bottles if you need to track intake precisely.
- Use a reservoir if frequent sipping helps you drink consistently.
- Keep backup water at the vehicle for the return.
Electrolytes Without Overcomplicating It
When you sweat heavily, you lose more than water. Sodium loss can contribute to headaches, cramps, unusual fatigue, and poor performance, especially during long, hot, or humid outings. Electrolyte tablets, capsules, or drink mixes can be useful when the day is hotter than normal, the route is exposed, or you know you are a salty sweater.
Keep it simple. Pair electrolytes with water and food rather than treating them as a substitute for either. Many hikers do well with one bottle of electrolyte drink and one bottle or reservoir of plain water. Snacks with salt can also help: pretzels, salted nuts, jerky, crackers, or a simple sandwich.
More is not always better. Overusing electrolyte products can upset your stomach or encourage poor hydration habits. Read labels, use reasonable amounts, and pay attention to how your body responds.
Safety note: People with heart, kidney, blood pressure, fluid-balance concerns, or medications that affect hydration or sodium levels should follow clinician guidance before using electrolyte supplements or changing fluid intake routines.
Sun Protection Is Core Gear
In hot weather, sun protection is not an accessory. It is core equipment. A wide-brim hat or a cap with neck coverage can reduce direct exposure on your face, ears, and neck. UV-rated sunglasses protect your eyes and reduce fatigue from glare, especially on rock, sand, water, or pale trail surfaces.
Lightweight long sleeves often perform better than bare skin in full sun. A breathable UPF shirt, sun hoodie, or loose long-sleeve layer can reduce burn risk and keep radiant heat off your skin. If you use trekking poles, paddle, scramble, or move through brush, thin sun gloves can protect the backs of your hands.
Sunscreen still matters. Apply before the hike, then reapply based on sweat, time, and exposure. Do not forget ears, neck, the backs of hands, and the part line of your scalp. Lip balm with SPF is a small item that solves a common problem before it becomes painful.
Build shade breaks into the day. A five-minute stop under a tree, rock overhang, or even the shadow of your vehicle can help you reset before heat stress builds.
Clothing for Heat, Scrub, Rock, and Water Edges
Hot-weather clothing should breathe, dry quickly, and protect your skin. Lightweight synthetic or wool-blend fabrics are usually better than heavy cotton when sweat, weather changes, or wet feet are likely. Cotton can be comfortable in dry heat, but it dries slowly and can become a problem if storms, wind, or cooler evening temperatures enter the picture.
Choose clothing for the actual terrain. Desert scrub, thorny trails, hot rock, riverbanks, and overgrown service roads all punish exposed skin. Lightweight pants may be more comfortable over a full day than shorts if you are moving through brush or sun-baked terrain. In sandy, brushy, or scree-heavy areas, low gaiters can keep grit and seeds out of shoes.
If storms are possible, carry a light wind or rain shell even when the forecast looks mostly clear. It does not need to be heavy. It just needs to block wind and rain long enough to prevent a hot day from becoming a cold, wet delay.
Bright colors are useful in mixed-use areas, hunting zones, off-road corridors, and scouting routes where you may want to be seen by riders, drivers, paddlers, or searchers.
Foot Care Before It Becomes a Problem
Foot problems rarely start as emergencies. They start as friction, heat, grit, wet socks, swelling, or laces that were not adjusted before a descent. Deal with hot spots early and you can usually keep moving comfortably. Ignore them and the rest of the day becomes slower.
Wear footwear matched to the route: ventilated trail shoes for fast dry trails, supportive hikers for rocky loads, or shoes with confident grip for slick river edges. Socks matter as much as shoes. A good hiking or running sock should manage moisture and reduce friction. If your feet will get wet, pack a dry pair for the return leg.
Trim toenails before long descents. Stop to shake out grit. Adjust laces when your feet swell or when the trail changes from climbing to descending. If you feel a hot spot, cover it before it becomes a blister.
Foot Care Checklist
- Spare socks.
- Blister pads, moleskin, or athletic tape.
- A small amount of foot powder or balm if you already use it successfully.
- Tweezers for thorns, cactus spines, or splinters.
- Lightweight gaiters for sand, scree, seeds, or brush.
Navigation: Simple Redundancy
Navigation does not need to be complicated, but it should not depend on one fragile tool. Download an offline map before leaving coverage. Save or mark the trailhead, key junctions, water crossings, and the planned turnaround point. A screenshot is better than nothing, but a true offline map is more useful when you need to zoom, check terrain, or compare routes.
Carry a paper map, printed route, or small map section when the area is unfamiliar. Add a basic compass and know how to orient the map. You do not need advanced land-navigation skills for every day hike, but you should know which direction takes you back toward the trailhead, road, river, or ridge.
Take a photo of the trailhead map or sign if there is one. Note gate hours, alternate exits, and any posted hazards. Tell someone where you are going, when you expect to return, and when they should take action if you do not check in.
The Headlamp Rule for Day Trips
Carry a headlamp even when the plan is to finish before dark. Heat slows people down. Blisters slow people down. Storms, wrong turns, photos, scouting detours, and helping another party can all eat daylight.
A small, reliable headlamp is better than relying on a phone flashlight. Your phone may be needed for navigation, photos, or check-in messages, and holding it as a light makes walking harder. Check batteries before leaving. If your headlamp has a lockout mode, use it so it does not switch on inside your pack.
Repair Basics for Packs, Shoes, and Small Failures
A day-hike repair kit should solve small failures that would otherwise become big delays. The goal is not to rebuild gear in the field. The goal is to keep moving safely.
Carry a short wrap of strong tape, a few zip ties, safety pins, and a small multitool. A needle with heavy thread or a mini sewing kit can handle torn straps, loose gaiters, or ripped pockets. If you use a hydration reservoir, consider a spare bite valve cap or a small backup bottle in case the system leaks or the mouthpiece gets dirty.
Common field fixes include taping a shoe upper, pinning a torn pocket, securing a loose trekking pole basket, splinting a cracked buckle, or keeping a reservoir hose from dragging. These are not elegant repairs. They are enough to get back to the vehicle.
Emergency Signaling Without Turning the Kit Into a Survival Pack
Signaling gear should be small, light, and easy to reach. A whistle is one of the simplest items to carry and works when shouting becomes tiring. Three sharp blasts is widely recognized as a distress signal in many outdoor settings.
A mirror or reflective surface can help attract attention in open terrain. A bright bandana, high-visibility cloth, or reflective strip can make you easier to spot near brush, rocks, or water edges. A small marker light or compact emergency strobe can be useful if a delay pushes you toward dusk.
Know the local emergency procedure before you go. In many places that means calling emergency services if you have coverage, staying put if movement increases risk, and making yourself visible. This does not need to turn into a full communications loadout for every short outing. It just means having simple tools that help others locate you if the day goes sideways.
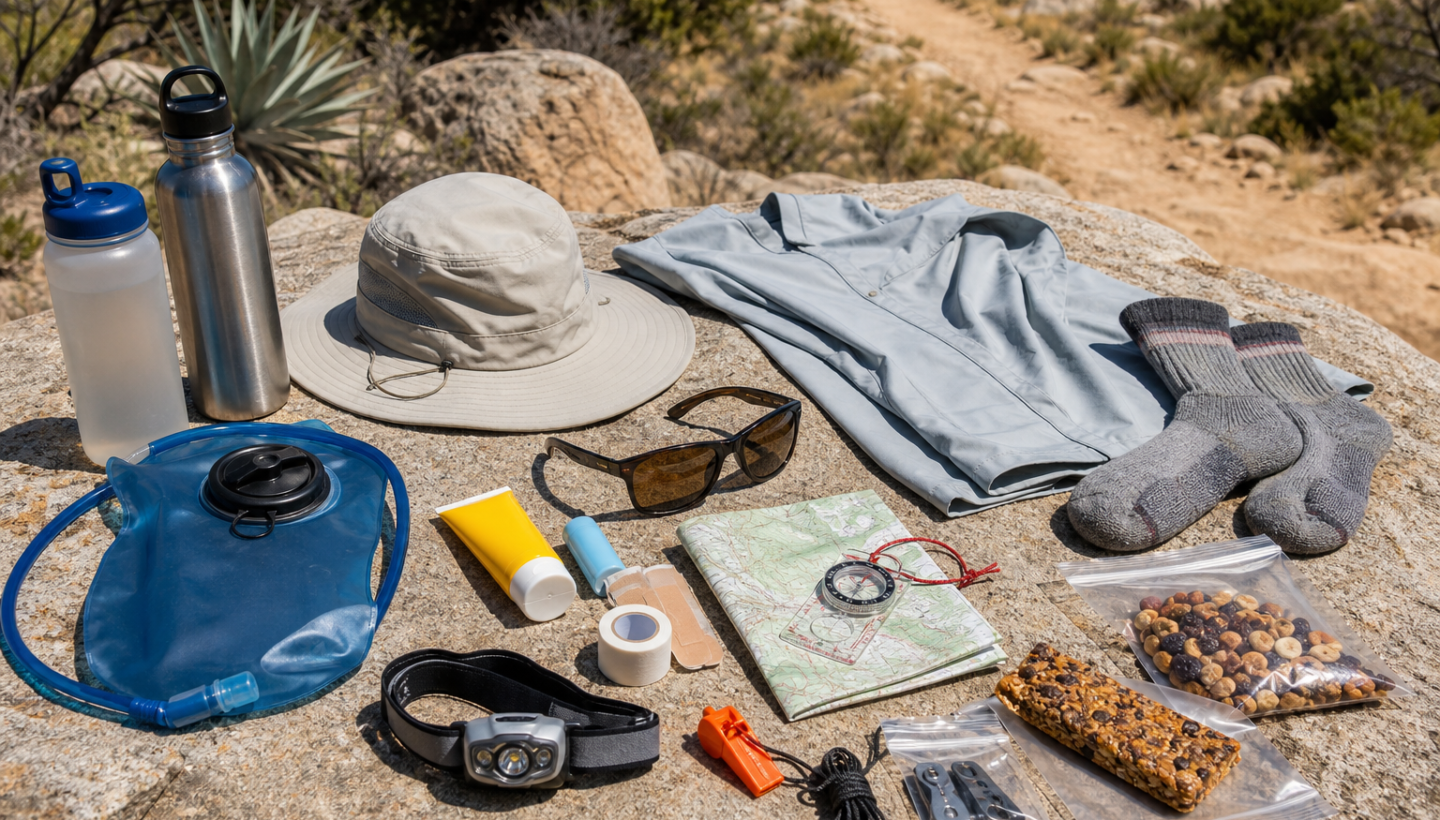
Compact Hot-Weather Day Kit Checklist
- Water and electrolytes: Bottles, reservoir, electrolyte tablets or mix, and backup water at the vehicle.
- Sun protection: Wide-brim hat or cap with neck coverage, UV sunglasses, sunscreen, SPF lip balm, UPF shirt, and optional sun gloves.
- Clothing layers: Breathable shirt, suitable pants or shorts, quick-dry socks, light wind or rain shell if storms are possible, and bright colors where visibility matters.
- Foot care: Spare socks, blister pads or tape, tweezers, foot balm or powder if used, and lightweight gaiters when terrain calls for them.
- Navigation: Offline map, printed route or paper map, compass, marked waypoints, and a shared trip plan.
- Headlamp: Compact light with fresh batteries or charge, plus lockout mode if available.
- Repair basics: Tape, zip ties, safety pins, mini sewing kit, small multitool, and any small spare part your system commonly needs.
- Small first-aid basics: Adhesive bandages, blister care, antiseptic wipes, personal medications, and any items specific to your health needs.
- Signaling items: Whistle, reflective surface or mirror, bright bandana, and small marker light if appropriate.
- Snacks: Salty, easy-to-eat food that still sounds good in heat.
- ID, permit, and payment: Identification, required permits, vehicle pass, and cash or card where relevant.
Safety Notes for Heat and Remote Movement
Heat illness can build gradually or appear suddenly. Watch for dizziness, confusion, nausea, headache, cramps, unusual fatigue, rapid decline in coordination, or skin that feels alarmingly hot. Stopped sweating can be a serious warning sign, but do not wait for that symptom before acting.
If someone is struggling, stop moving, get them into shade, reduce exertion, cool the body, and reassess the plan. Loosen tight clothing, sip fluids if they are alert and able to drink, and use wet cloth, airflow, or cool surfaces where available. For severe symptoms, confusion, collapse, or worsening condition, seek emergency help immediately.
Medical disclaimer: This article is general outdoor information, not medical advice. Heat illness can be life-threatening. Follow local guidance, use your judgment, and seek professional medical help when symptoms are severe or uncertain.
Key Takeaways
- Plan from the route conditions first: heat, shade, elevation, water availability, terrain, and turnaround time.
- Carry enough water for the outing plus a delay, and use electrolytes thoughtfully when sweat loss is high.
- Treat sun protection as core gear, not a comfort item.
- Prevent foot problems early with the right socks, spare socks, blister care, and lace adjustments.
- Use simple redundancy for navigation, lighting, repairs, and signaling without overpacking.
Closing: Carry Enough to Adapt
The best hot-weather day kit is not the heaviest one. It is the kit that keeps water, shade, direction, foot comfort, and a safe margin within reach. A short hike, trail run, shoreline scout, or access-route check can stay light and efficient while still being prepared for heat, delays, and small failures.
Pack for the day you expect, then add just enough backup for the day you might get. That small buffer is what keeps preparation practical instead of fear-based.
Related Resources
- National Park Service: Hiking Safety — Practical guidance on planning, hydration, navigation, weather awareness, and basic trail safety.
- CDC: About Extreme Heat — Clear public-health information on heat risk, symptoms, and prevention.
- National Weather Service: Heat Safety — Official heat safety guidance, alerts, and tips for recognizing dangerous conditions.
- American Hiking Society: The 10 Essentials — A concise overview of the classic essential systems for safer day hiking and backcountry travel.